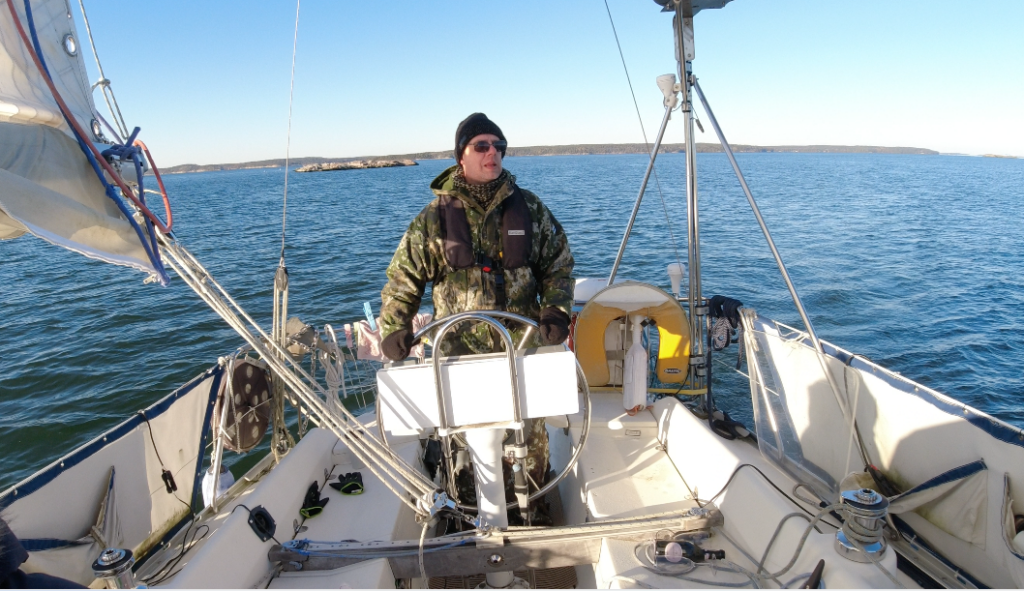
 Having the last sail of the season in October, made us realise how cold the bare steel steering wheel is even when using gloves.
We wanted to treat ourselves to a Christmas present and get a leather cover for the wheel.
After making some inquiries we found out that one doesn’t simply get a one-piece leather from any animal, that would extend the whole steering wheel. Asking quotes from a few craftsmen we found out in most cases they also would need to commercially purchase a kit for the cover.
I also thought the process of sending the steering wheel for a craftsman and recollecting it would be tedious. So we ended up simply ordering a leather cover kit from Custom Marine Leather, and thought: how difficult can it be to put it on ourselves.
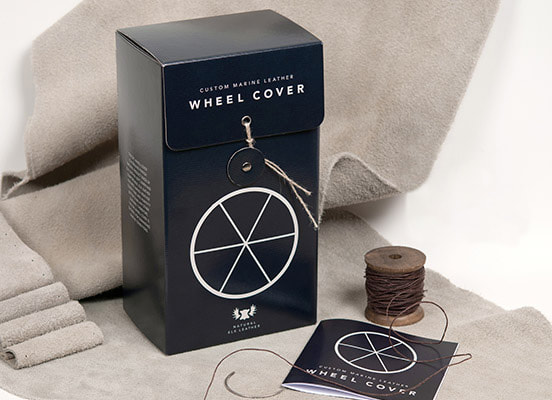
The CML Wheel Cover kit came with
- three leather strips with ready-made holes for the stitches
- two curvy needles
- roll of two-side tape and
- 30 metres roll of some heavy duty wax-handled thread.
The leather in the kit is high-quality elk leather. The strips have ready-made holes for the stitches ensuring the stitches would going to be all the same size. And naturally the stitching action would be much easier.
Getting things started
Despite some friendly hinting between us, the steering wheel spent most of the winter in the corner of our living room.
The spring cave in (pun intended) for a return winter many times, and we simply couldn’t start prepping the boat.
The harbour still had the running water on the hard cut off due to nights freezing over, and even during daytime, it was too cold to apply any polishing waxes or antifouling.
We’d already taken the tarps off the boat when the winter once more threw some 20cm of snow. As the first of may (the un-official and un-written rule or at least target date for boat splashing on “Vappu”) became closer we found ourselves with quite a workload. We really could’ve “invested” the winter time a bit better.
Getting things done
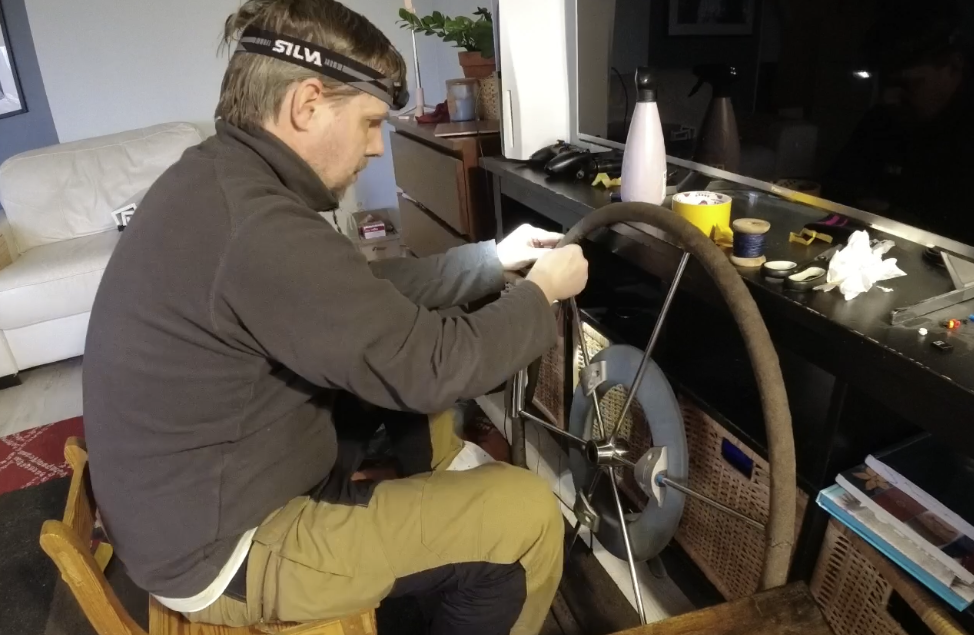
We don’t have any proper workshop facilities and tried to work the wheel on our dining table and chair and floor and finally founding the optimal working station against the TV stand and sitting on a little stool.
The kit also came with pretty clear instructions. But when reading instructions, one’s own thinking sometimes is shut down, and we actually had some difficulties starting the process.
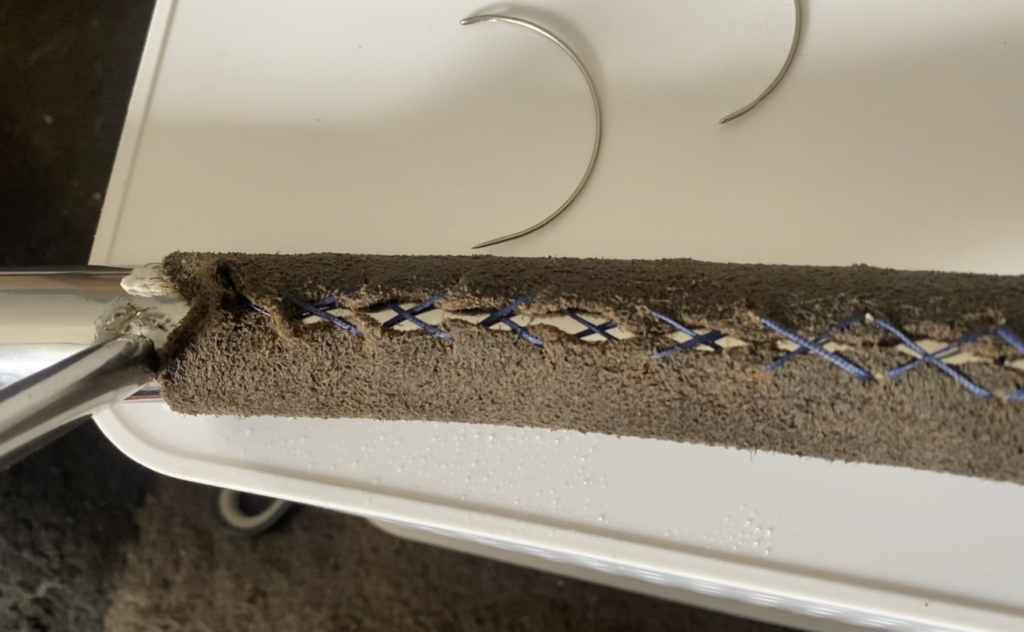
The stitches have two options: straight or crossing.
The instructions said that when doing the straight stitch, the cross is hidden under the leather. And when doing crossing stitches, the cross would be visible. But it didn’t say that the straight part would be hidden under the leather.
And as we really didn’t bother to read the part of instruction which we deemed inapplicable (the option doing straight stitch), we initially rushed along doing only crosses. That didn’t come up tight, pretty nor durable at all. After a dozen of very bad stitching, we took it all off and started afresh with broadened logic: Crosses on the outside and straights under the leather.
As said the kit came with three leather strips. They had to be soken wet in a container for 15 minutes and even after that they needed to be sprayed water on, to keep them moist. The first strip managed to cover a whole half of the steering wheel, so naturally we thought the second strip would do the same.
In the latter half of the second strip I started to stretch it a bit to make ends meet (pun again intended). And I did get it, but as the strip became longer, it also became slightly narrower. And thus stitches couldn’t join the leather edges anymore and the steel was visible in the the middle.
I had it completely ready and the two strips actually stitched together. It was ready and done!
Also but I was really not happy with the result.
Getting things fixed
Just to be sure I sprayed the cover wet in the evening. I found myself spending some time in the night thinking. It would be on the lower parts of the wheel and the sun would be shining and reflecting from the bare steel. I could just remove few centimetres and replace it with a small piece from the third strip. But I didn’t like that option either.
I actually sprayed it again in the middle of the night and come morning took both strips off about the third of their length.
We applied the third strip and now the whole wheel is somewhat evenly divided into three sections with their own leather strips.
There is a seven P rule phrasing “Proper planning and preparation prevents piss poor performance” and I am learning it the hard way.
We started the covering from the upmost spoke of the wheel when the rudder is in the middle. But we should’ve started it in a way that the strip change was down as the spoke is not really in the center. But that I can live with.
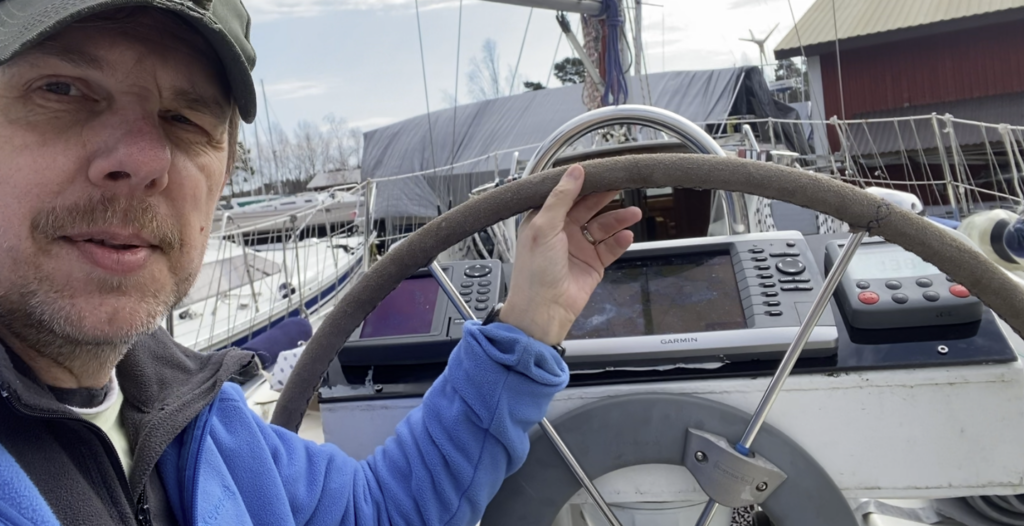
Nevertheless I’m quite happy with our steering wheel cover. With the next boat I’m preparing better and maybe going for a lighter shade as this dark gray actually turns a bit brownish when completely wet.
